How to Add Privacy and Better Aesthetics to a Chain Link Fence: Wind Screens and Slats
A bare chain link fence does its job, but it does nothing for privacy, aesthetics, or wind. Screens and vinyl slats fix that without replacing the fence. Whether you just moved into a Springfield-area home with an existing chain link run, or a storm flattened a section and you are rebuilding anyway, this guide walks you through adding chain link privacy screening step by step. The goal is simple: keep the durability of chain link, gain the privacy you want, and end up with a fence you do not mind looking at.
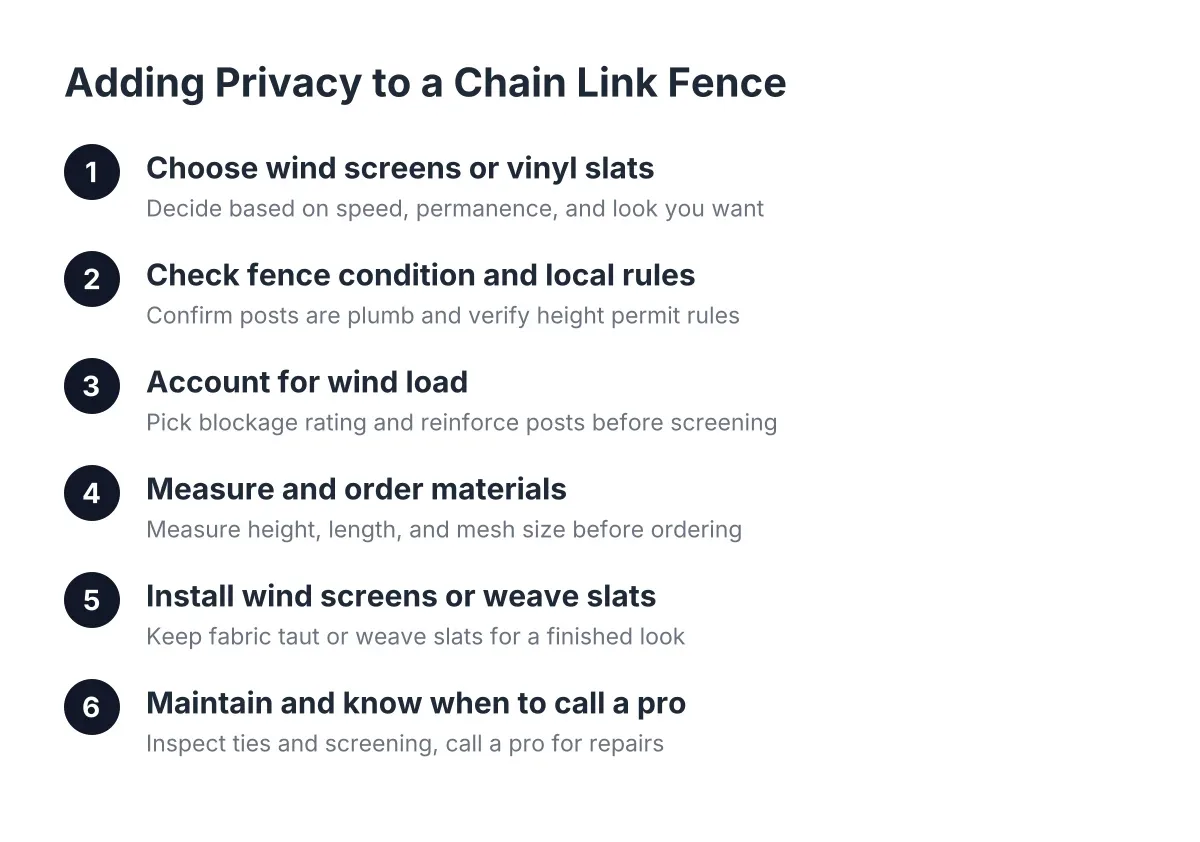
Step 1: Decide Between Wind Screens and Vinyl Slats
Start with the core choice, because everything else depends on it. Wind screens are fabric panels, usually woven polyethylene mesh, that attach to the face of the fence with zip ties or grommets. Vinyl slats are rigid strips that weave vertically or diagonally through the chain link mesh itself.
Each option solves the privacy and aesthetics problem differently:
- Wind screens: Faster to install, easy to replace, available in solid colors, and sold by privacy percentage (often 70 to 95 percent blockage). They soften wind and block sightlines but read as fabric, not fencing.
- Vinyl slats: More permanent, more rigid, and they make the fence look finished rather than covered. They come in colors like green, black, brown, beige, and blue, so a plain galvanized fence or a blue chain link fence can blend into the yard instead of standing out.
- Combination: Some homeowners run slats on the street-facing side for looks and a screen along a windy exposure where replaceable fabric makes sense.
For a new homeowner planning a backyard for a dog or kids, slats usually win on appearance and lifespan. For someone patching things together after storm damage, a screen gets privacy back the same afternoon.
Step 2: Check Your Fence Condition and Local Rules First
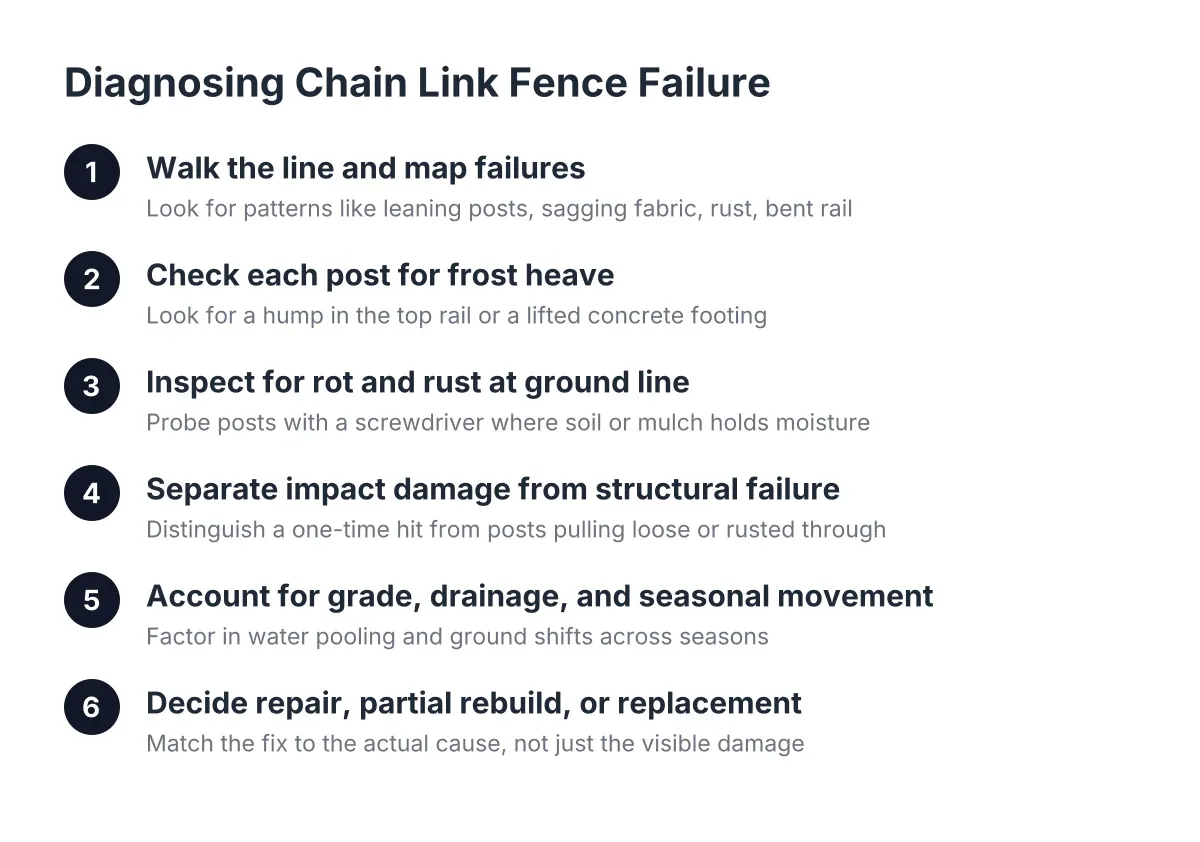
Before you spend money on screening, confirm the fence can carry it. Walk the full line and check that posts are plumb, rails are straight, and the fabric is tight. A post that frost heave has already pushed out of line will only get worse once you add wind load, and Springfield-area winters move ground every year.
If a storm just knocked a section flat, address the structure first. Bent top rail, crushed mesh, or a leaning post means repair or partial fence replacement before any screen goes on. Screening a damaged fence hides the problem without fixing it, and the next windstorm will find the weak point. This is one spot where calling a local fence company for an assessment beats guessing; a pro can tell you in minutes whether a section is repairable or needs new posts.
In addition, check height rules. Under the Massachusetts State Building Code, a fence over 7 feet requires a building permit, while fences 7 feet or less do not, according to the Town of Duxbury, MA. Most residential chain link sits at 4 or 5 feet, well under that line, but confirm anything unusual with your city before you build up.
Step 3: Understand How Wind Load Changes the Equation
Here is the trade-off nobody mentions on the product packaging. An open chain link fence lets wind pass through almost freely, which is one reason it survives New England weather so well. Add a solid screen or full slats, and the fence becomes a sail.
A solid barrier that blocks wind completely takes far more force in a gust than an open mesh, the same reason a solid wood privacy fence can blow over where a more open style stays standing. Privacy screening shifts that load onto your chain link posts and rails.
Therefore, plan for it:
- Choose a screen with a lower blockage rating (70 to 85 percent) in exposed locations; the small open weave bleeds off wind pressure.
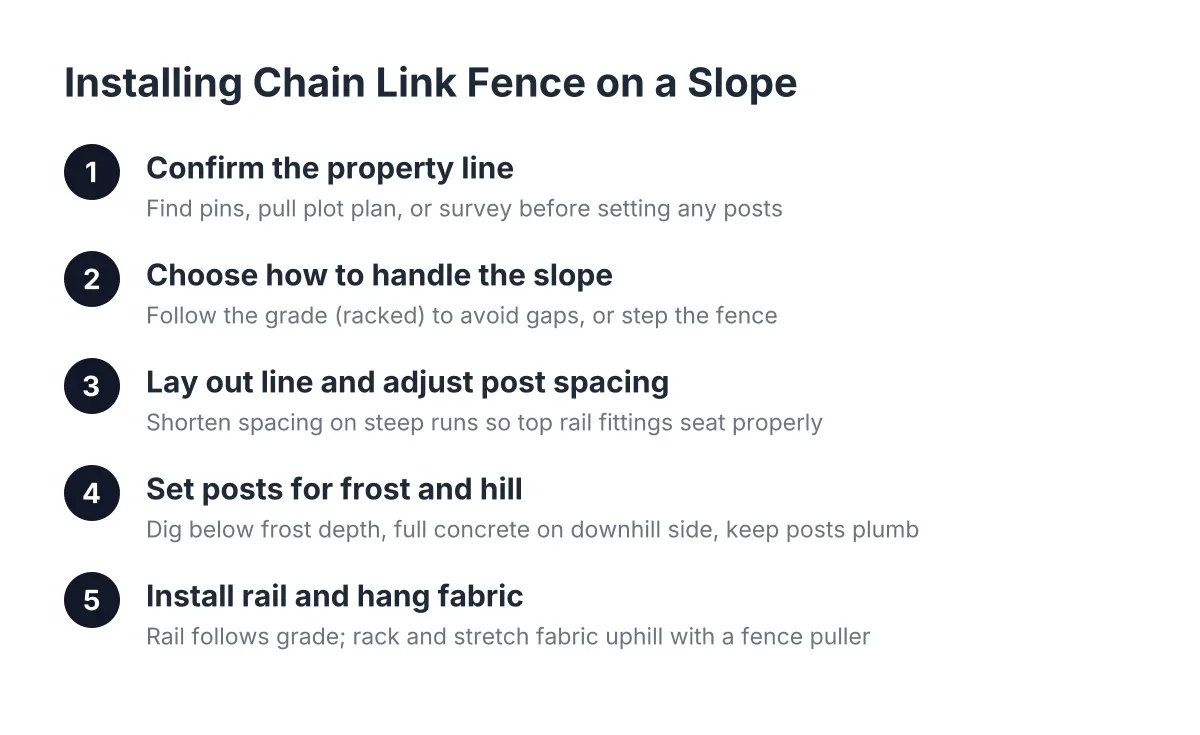
- Make sure posts are set in concrete below frost depth, which matters for any fence installation in Western Massachusetts.
- Check that fence ties holding the fabric to the frame are bent tight. A tie wrapped so it traps the mesh against the pipe holds; one bent the wrong way sits loose, and wind can pop it open.
- Consider slats instead of fabric on the windiest runs, since slats let some air pass between strips.
If a prior storm already took out part of your fence, treat that as information. Wind found a weakness once. Reinforce that stretch before you increase the load on it.
Step 4: Measure and Order the Right Materials
Measure the fence height from the top rail to the ground, then measure the total length of each run you plan to cover. Order screens slightly shorter than the fence height so fabric does not drag on the ground, wick moisture, and collect snow in winter.
For slats, you need the fence height, the total length, and the mesh size, since slats are sized to the diamond opening. Standard residential chain link uses a common mesh, but older Springfield-area fences sometimes have non-standard fabric, so measure a diamond before ordering. Count gates separately; they need their own cut-to-fit pieces.
For example, suppose a new homeowner with a quarter-acre lot wants to screen 60 feet of 4-foot chain link along the neighbor's side. That is one measurement session, a single screen order or a few boxes of slats, and a weekend of work. Budget-wise, screening a run like that is a fraction of the cost per foot of tearing out chain link and installing a wood fence or vinyl fence for the same privacy.
Step 5: Installing Chain Link Privacy Screening Wind Screens for a Clean Look
Installing a wind screen is straightforward if you keep the fabric tense as you go. Work with a helper on anything longer than 20 feet.
- Unroll the screen along the fence line and position the top edge just under the top rail.
- Attach the first corner with a zip tie through the grommet, then pull the fabric taut horizontally before tying the next grommet.
- Secure every grommet along the top first, then tension and tie the bottom row, then the sides.
- Use UV-rated zip ties or hog rings; cheap ties turn brittle in one New England winter and let the screen flap.
A loose screen is the most common failure. Slack fabric snaps in the wind, tears at the grommets, and looks worse than no screen at all. Tension is what separates a clean install from a tarp strapped to a fence.
Step 6: Weave Vinyl Slats for a Finished, Lasting Look
Slats take longer but reward the effort. Feed each slat down through the diamond pattern from the top, keeping the angle consistent so the finished face reads as straight vertical or diagonal lines. Most products include a locking channel or bottom lock strip that runs horizontally to keep slats from walking up out of the mesh over time. Do not skip it; freeze-thaw movement will slowly push unlocked slats loose.
Work one section between posts at a time and step back every few feet to check your lines. Crooked slats are the detail everyone notices from the street. On color, match or complement your house trim; black and dark green disappear into landscaping, while a blue chain link fence with matching blue slats reads as intentional rather than industrial.
Step 7: Maintain the Screen and Know When to Call a Pro
Twice a year, walk the line. Check ties and grommets in spring after frost has moved the ground, and again in late fall before snow load arrives. Replace any broken ties immediately, because one loose corner lets wind work the whole panel. Hose off screens and slats when pollen or road grime builds up; that is the entire maintenance routine.
However, know the limits of screening. It improves privacy and aesthetics, but wind screens and slats cannot fix a fence with rotted post footings, bent framework, or storm damage, and they are not a substitute for a true privacy fence if you want zero visibility and sound dampening. If posts lean, if the top rail is kinked, or if you are weighing repair against full fence replacement after a storm, get a local fence estimate before investing in screening. Nationally, fence installation averages $3,277, with most homeowners paying between $1,860 and $4,843, according to Angi, so knowing whether your money should go to screening or to replacement is worth a short conversation with a Springfield-area installer.
Done right, the payoff is real: a chain link fence keeps its strengths, low cost and long service life, and picks up the privacy and curb appeal it never had on its own.
If you need chain link fence installation, Western Mass Fence Co can help.
Prefer to talk it through? Call (413) 305-1309 — a quick call is usually the fastest way to get a straight answer for your situation.