What to Expect During Fence Installation: A Day-by-Day Guide From Your Installers
You picked your material, signed the estimate, and the crew is scheduled. Now what? Knowing what fencing installers actually do each day, and what they need from you before they show up, keeps your project on track and prevents the two most expensive mistakes we see in the Springfield area: a fence set on the wrong line, and a yard that wasn't ready when the crew arrived. This guide walks through the process step by step, from the week before installation to the final walkthrough, so you know what good work looks like and what to flag before it becomes a problem.
This matters most if you're fencing a disputed or unclear property line. A fence placed six inches over the line can turn a neighbor disagreement into a tear-out. The steps below show you where placement gets locked in and what to document along the way.
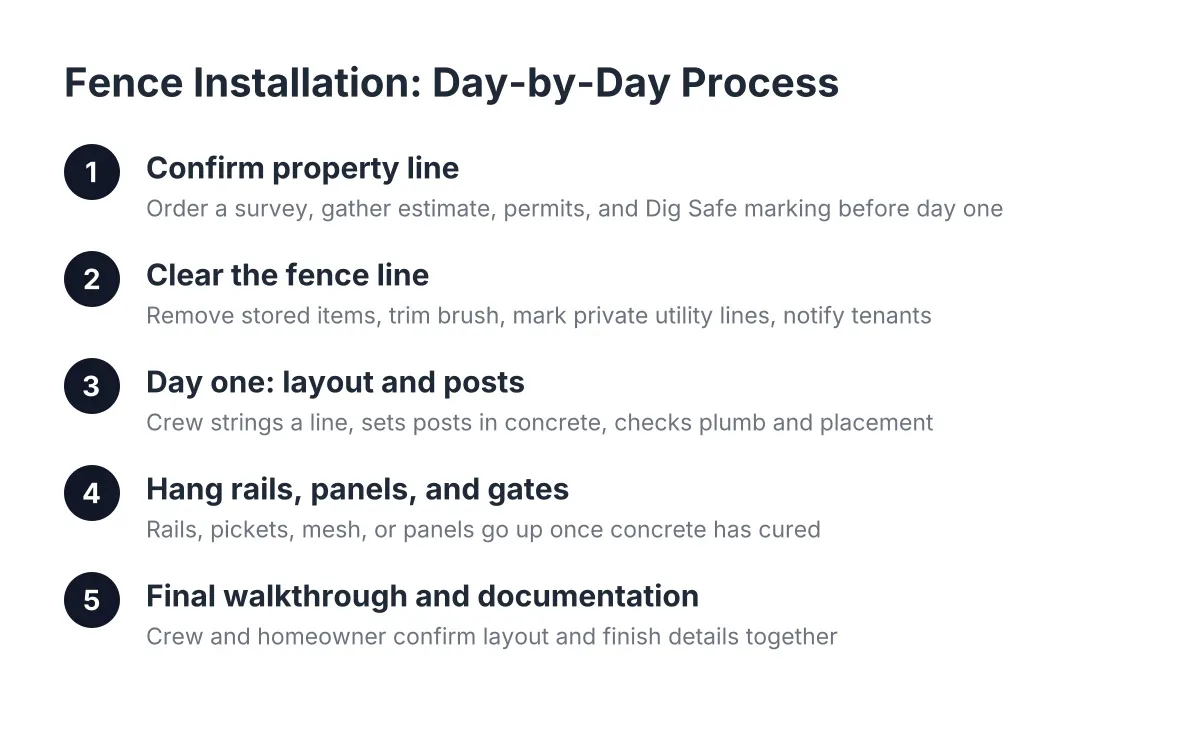
Step 1: Confirm Your Property Line Before Anyone Digs
Settle the line question before installation day, not during it. Fencing installers build to the line you give them; they do not establish where that line legally sits. If your deed, plot plan, or existing survey pins leave any doubt, order a survey before the crew arrives. In Springfield's older neighborhoods, original lot markers are often buried, moved, or missing entirely, and the fence that stood for 30 years may never have been on the line.
For a homeowner in a dispute with a neighbor, a survey is cheap insurance. Suppose your neighbor's dog keeps crossing into your yard and the neighbor claims the old fence was two feet onto their side. Without a survey, you're guessing. With one, you can set the new fence on your side of a marked line, photograph the pins next to the posts, and keep that documentation with your project paperwork. That record is what ends the back-and-forth.
Before installation day, have these ready:
- A copy of your survey or plot plan, with pins located and flagged if possible
- Your written estimate showing the agreed layout, footage, and gate locations
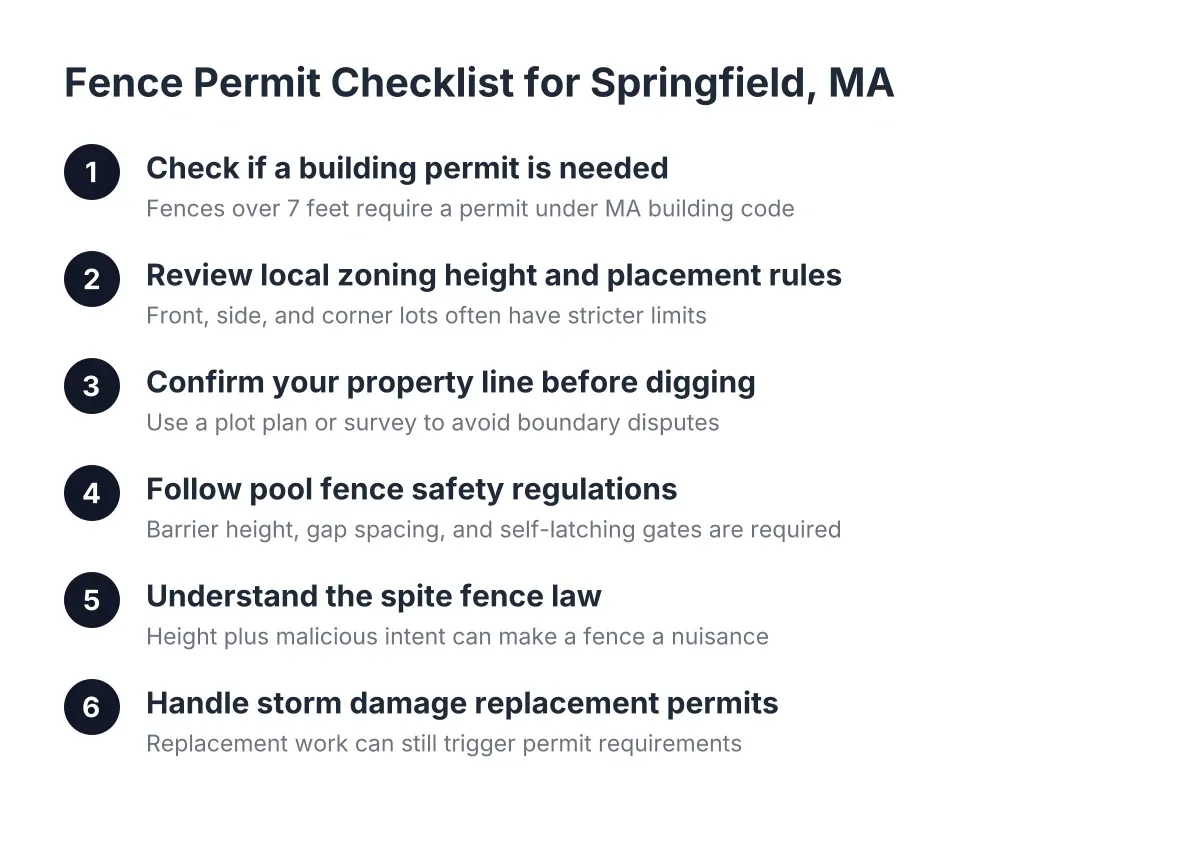
- Any permit your city or town requires for the fence height and placement
- Utility marking completed through Dig Safe, which is required in Massachusetts before digging
- Written notes on which side faces which way, especially for a stockade-style wood fence
One honest limitation: if the dispute has already turned legal, or your neighbor contests the survey itself, talk to a real estate attorney before you build. A fence company can install precisely to a marked line, but it cannot settle a legal boundary disagreement for you.
Step 2: Clear the Fence Line and Prep the Yard
Walk your fence line the day before the crew arrives and remove anything in the way. That means moving stored items, trimming brush that hangs over the line, unlocking gates, and keeping pets and kids inside during work hours. Crews can remove an old fence as part of a replacement job, but clearing personal property is on you, and a cluttered line slows the job.
Mark your sprinkler heads, invisible dog fence wire, and any landscape lighting runs. Dig Safe marks public utilities; it does not mark private lines you or a previous owner installed. Post holes go two to three feet down in this region to get below the frost line, and a severed irrigation line is a frustrating add-on expense that preparation prevents.
For landlords with tenants on site, in addition to the physical prep, give tenants written notice of the work dates and ask them to move vehicles, grills, and kids' toys off the fence line. Say you own a three-unit property in Springfield and the rear chain link fence failed a housing inspection. The crew can replace it in a day or two, but only if the shared backyard is clear and tenants know not to let dogs out during work hours.
Step 3: Day One, Layout and Post Setting
Day one is layout and posts, and it is the day that decides whether your fence is straight and correctly placed. The crew sets posts at both ends of each run first, then stretches a string line between them to keep every post in between dead straight. Watch for this; it's the mark of installers who care about the finished line. They'll mark post locations along the string, dig or auger the holes, set each post in concrete, and check it for plumb.
This is also your moment to verify placement. Before the first hole is dug, walk the staked line with the crew lead and confirm it matches your survey and your estimate. Take photos of the stakes next to your survey pins. Once posts are in concrete, moving them means new holes, new concrete, and added cost. Five minutes of verification beats a redo.
Expect the crew to talk through grade changes with you. Springfield-area lots often slope, and the crew will either step the fence in level sections or rack it to follow the ground. Confirm which approach you're getting on slopes, since it changes how gaps appear under the fence, which matters if containing a dog is the whole point.
Concrete needs time to cure before the fence can hang on it. Depending on weather and the material, the crew may stop after posts and return a day or more later. That pause is normal, not a stall.
Step 4: How Fence Installers Hang Rails, Panels, and Gates
With posts cured, the crew hangs the fence itself. For a wood fence, that means rails between posts and then pickets or panels; for vinyl, rails lock into routed posts and side strips hold the grooved pickets in place; for a chain link fence, the crew stretches the mesh taut between terminal posts and ties it off to the line posts. Good installers lift each panel and check that the picket tops align level with the neighboring section before fastening anything.
A few things to know as this stage unfolds:
- Finished side placement. On a stockade-style wood fence, the smooth picket side typically faces the neighbor or street, with the rail side facing your yard. If the neighbor relationship is tense, confirm this orientation in writing before day one so there's no argument later.
- Cut sections. Fence runs rarely divide evenly into full panels. Skilled crews put cut-down sections in the least visible corners and keep full panels where you see the fence most, often adding a picket at a corner to hide the cut edge.
- Gates come last. Gates are hung after the runs are complete so they can be leveled against the finished fence, then latches and hardware get adjusted.
If something looks off, say so now. A picket run drifting out of level or a gate that drags is a same-day fix while the crew is on site. It's a service call after they leave.
Step 5: Final Walkthrough and Documentation
Do a slow walkthrough with the crew lead before they pack up. Open and close every gate. Check that post tops are consistent, pickets are tight, and the line is straight when you sight down it. Confirm the crew hauled away the old fence and construction debris if removal was in your estimate; haul-away is sometimes a separate line item, so check your paperwork rather than assuming.
Then document everything. Photograph the finished fence from both sides, including shots showing posts relative to your survey pins. Keep the final invoice, the layout drawing, and any placement notes together. If a future neighbor, buyer, or realtor ever questions the line, that file answers the question in minutes. For landlords, this same file makes the next quote faster, since a residential fence company that already knows your property can price repairs or a matching fence at the next building without starting from zero.
What Fencing Installers Charge and How Long It Takes
Most residential projects run one to three working days on site, with the concrete cure built into that window; weather, frost, and permit timing can stretch it. On cost, fence installation averages $3,277 nationally, with most homeowners paying between $1,860 and $4,843, according to Angi. Your actual fence estimate depends on footage, material, gates, grade, and old fence removal, so treat the national figure as context, not a quote.
Resist the urge to pick the lowest bid by default. Pricing differences across installers reflect construction practices, post depth, hardware quality, and expected longevity, not just markup. A cheap fence that heaves out of plumb after a few New England freeze-thaw cycles costs more over ten years than a properly set one did on day one.
When you compare quotes, ask each contractor three things: how deep they set posts for our frost conditions, whether old fence removal and haul-away are included, and how they handle placement when a property line is in question. Clear answers to those three tell you more than the price per foot.
If you're planning a wood, chain link, or vinyl fence in the Springfield area, Western Mass Fence Co can walk your line, talk through placement and cost factors, and give you a straight written estimate before any digging starts. Reach out when you're ready to get on the schedule.
If you need fence installation, Western Mass Fence Co can help.
Prefer to talk it through? Call (413) 305-1309 — a quick call is usually the fastest way to get a straight answer for your situation.