Vinyl Fence Post Depth in New England: How to Set Posts That Beat Frost Heave
If you're pricing out a vinyl fence in the Springfield area, vinyl fence post depth is the detail that decides whether your fence stands straight for decades or starts leaning after its second winter. Western Massachusetts ground freezes deep, and when the soil freezes it expands. That expansion grabs anything buried too shallow and pushes it up, a little more each winter. Posts are the foundation of a vinyl fence; the panels only look as good as what's holding them. This guide walks through setting vinyl fence posts step by step, built around the frost conditions this region actually has.
One honest note before you start: this is the hardest part of vinyl fence installation to get right, and the most expensive to fix later. Digging forty holes to the right depth, keeping every post plumb, and pouring concrete correctly is physical, time-consuming work. Plenty of Springfield-area homeowners and landlords price the DIY route, then decide the labor portion of a fence estimate is money well spent. Either way, knowing how the posts should go in helps you judge any quote you get.
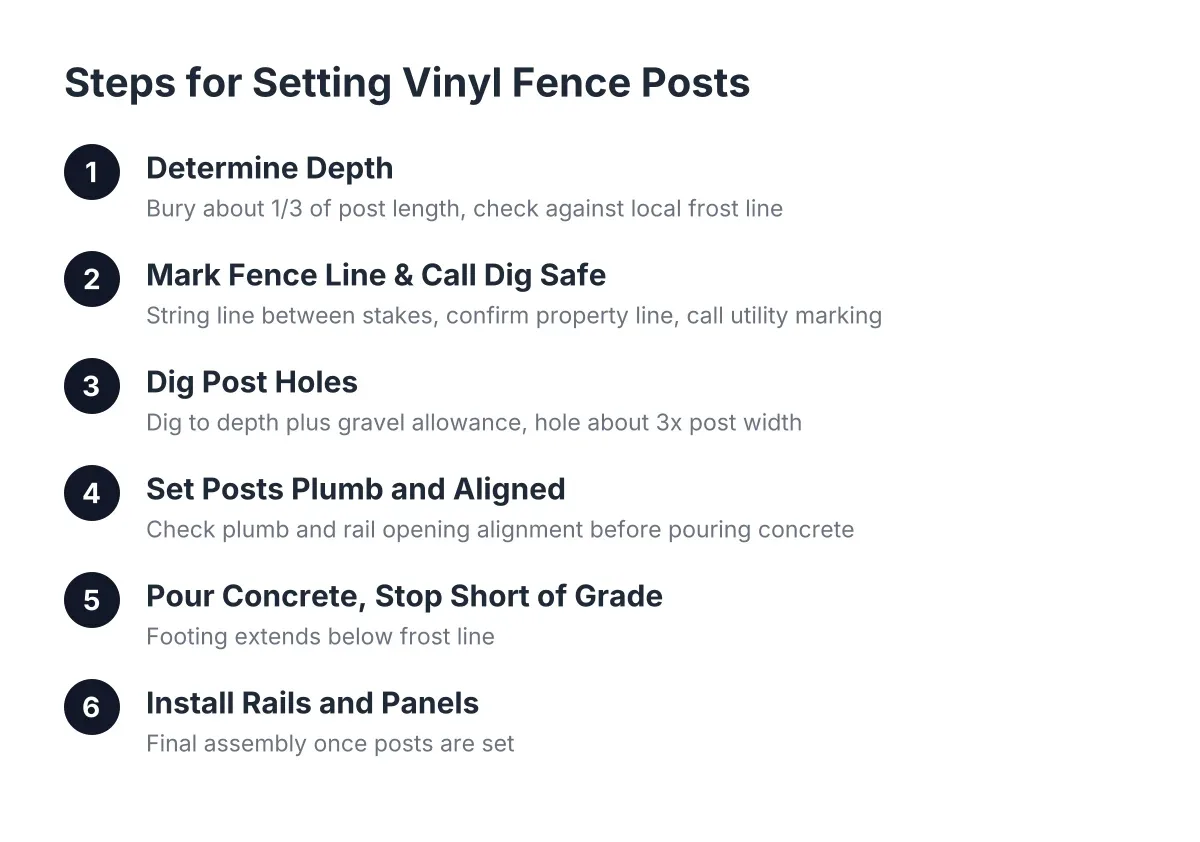
How Deep for Setting Vinyl Fence Posts in Frost Country
Start by working out how deep each hole needs to go, because everything else follows from that number. Two things drive it: the frost line and the height of your fence.
In Western Massachusetts, the ground can freeze several feet down in a hard winter. Your post footing needs to extend below that frost line. If the bottom of the concrete sits in soil that freezes, the freeze-thaw cycle will lift the footing out of the ground over time. A common rule of thumb installers use is to bury roughly one third of the post's total length, then check that figure against local frost depth and go deeper if needed.
For a typical 6-foot privacy fence, that means holes noticeably deeper than what you'd dig in a warmer state. The vinyl fence post hole depth also needs a few extra inches below the post itself for a gravel base, so plan the hole deeper than the buried portion of the post.
One permitting note while you're planning: under Massachusetts State Building Code (780 CMR), installing a fence over 7 feet requires a building permit, while fences 7 feet or less do not, according to the Town of Duxbury, MA. Most residential vinyl fences come in well under that, but check with your local Springfield-area building department before you dig, especially on a corner lot.
Step 2: Mark the Fence Line and Call Dig Safe
Next, lay out exactly where the fence will run. Stretch a string line between stakes at each corner and end point. This string is your reference for every post, so pull it tight and keep it at a consistent height.
Before any shovel touches the ground, call Dig Safe. Massachusetts law requires utility marking before excavation, and at the depths frost protection demands, you are digging well into the range where gas, water, and electric lines live. This step is free and non-negotiable.
While you're at it, confirm your property line. Older New England neighborhoods, including much of Springfield, have lots that were laid out long before modern surveys. A fence built a foot onto a neighbor's property is a dispute waiting to happen. If you own rental properties, this matters double; you don't want a tenant's fence pulled down over a line dispute.
Step 3: Dig Post Holes and Get the Depth Right
Now dig. Space the holes to match your panel width, measured center to center, and dig each hole to the depth you worked out in Step 1 plus a few inches for gravel. When setting vinyl fence posts below the frost line, diameter matters as much as depth here.
A post needs a generous collar of concrete on all sides to resist movement; a skinny hole with a thin ring of concrete will not hold up to frost pressure. As a rough guide, the hole should be about three times the width of the post.
A few digging realities for this region:
- Rocky fill and glacial till are common in Springfield-area yards, so expect to hit stones that a hand digger can't move. A digging bar or a powered auger saves hours.
- Grade changes complicate things. On a sloped yard, each hole's depth is measured from the ground at that hole, not from the high point of the yard.
- If a post lands on an existing concrete walkway or patio you want to keep intact, the hole gets core drilled through the surface rather than broken out with a jackhammer. That is specialty equipment, and it is one of the spots where hiring a fence company earns its cost.
Drop a few inches of crushed gravel into the bottom of each hole and tamp it. The gravel gives water somewhere to drain instead of pooling under the footing.
Step 4: Set the Posts Plumb and Aligned
Setting the posts is where patience pays. Place each post in its hole and check two things before anything gets locked in: the post is plumb in both directions, and the rail openings line up exactly with the openings in the neighboring posts.
That second check trips up first-timers. Vinyl posts have routed holes where the rails slide in. If one post sits an inch high or rotated a few degrees, the rail won't seat properly and the panel will show it. Sight down the line of posts before you pour any concrete; this is your last cheap chance to fix alignment.
Use heavier posts where the fence works hardest. End posts, corner posts, and gate posts are built thicker than standard line posts because they carry load from one side only, or carry a swinging gate. Suppose a landlord with a three-family on a Springfield side street is fencing a shared backyard with two gates; in that scenario, the four gate posts deserve the most attention of the whole job, because gates sag first when posts move. In tough spots, like butting against an existing fence or squeezing past a tree, installers sometimes reinforce a post by sleeving the vinyl over a metal pipe set in the footing.
Step 5: Pour Concrete, Then Stop Short of Grade
With posts plumb and aligned, mix and pour concrete around each one. Fill the hole so the post is surrounded on all sides, and work the mix with a rod or stick to eliminate air pockets. Re-check plumb immediately after pouring; wet concrete gives you a few minutes to adjust, cured concrete gives you none.
Here is a finishing detail that separates a clean residential job from a rough one. Stop the concrete a few inches short of ground level, then cap it with topsoil once it cures. The footing stays hidden, grass grows flush against the post, and the fence line looks like it belongs in the yard instead of sitting on exposed concrete collars. The structural work happens below; nobody needs to see it.
Let the concrete cure before hanging rails and panels. Rushing this step loads the posts before the footing can resist movement, and a post that shifts now stays shifted.
Step 6: Install Rails and Panels
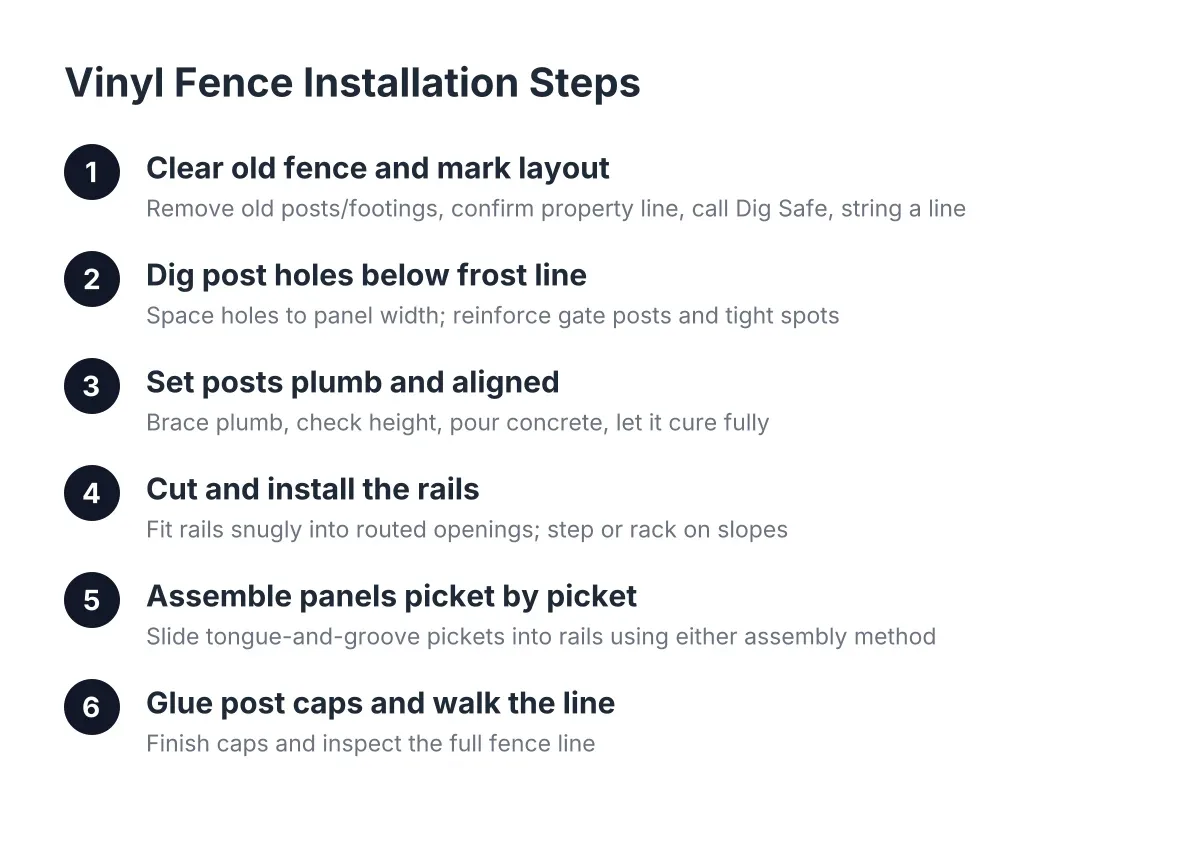
Once the footings cure, slide the bottom rails into the routed post openings, then stand the pickets or panel sections, then set the top rails. Where a section runs shorter than a full panel, cut the rails to length so they fit snugly between posts, then secure them with the screws made for vinyl rail connections.
If the posts went in at the right depth, plumb, and aligned, this step moves fast. If they didn't, no amount of panel adjustment hides it. That is the whole argument for treating post setting as the job and panel assembly as the finish work.
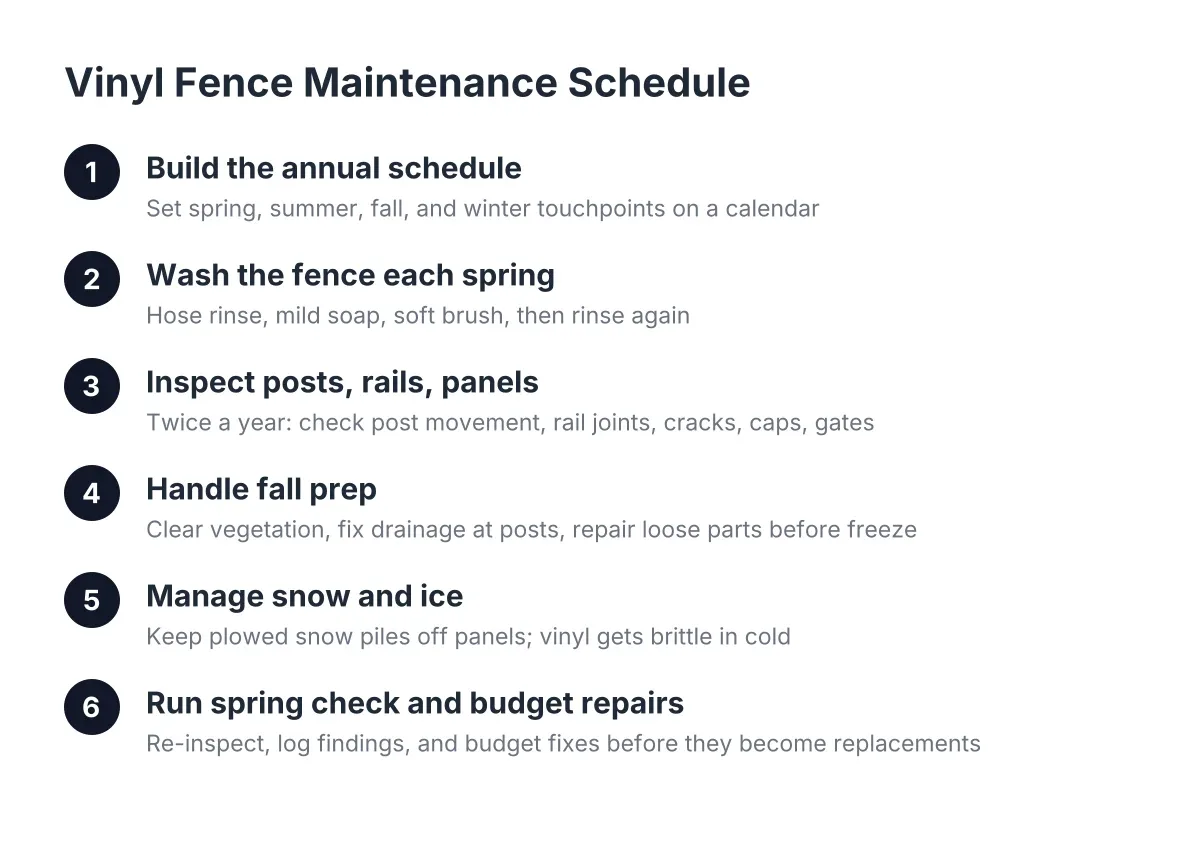
Why Setting Vinyl Fence Posts Drives Your Quote
When a fence estimate for vinyl comes in higher than you expected, post setting is usually a big piece of the reason, and in this region it is the piece doing the most work. For context, Angi reports overall fence installation costs average $3,277 nationally, with most homeowners paying between $1,860 and $4,843; vinyl tends to sit at the higher end on material, and deep frost-protected footings add labor on top.
Cost factors tied directly to how deep the posts go include:
- Number of holes, set by fence length and panel spacing
- Depth required by frost protection, which increases digging time and concrete volume per hole
- Soil conditions, since rocky or root-filled ground slows every hole
- Gate count, because gate posts need the strongest footings on the job
- Grade changes, which add layout time and sometimes stepped panels
- Core drilling through existing concrete or masonry where a surface must stay intact
So when you compare quotes from local fence companies, ask each one the same questions. How deep do you set vinyl posts here? Do you pour concrete around every post? How do you handle gate posts and corners? A pvc fence post depth that ignores the frost line is cheaper on day one and expensive by year three. The answers tell you whether a low number reflects efficiency or shortcuts, and they put you in control of the conversation before anyone shows up with a clipboard.
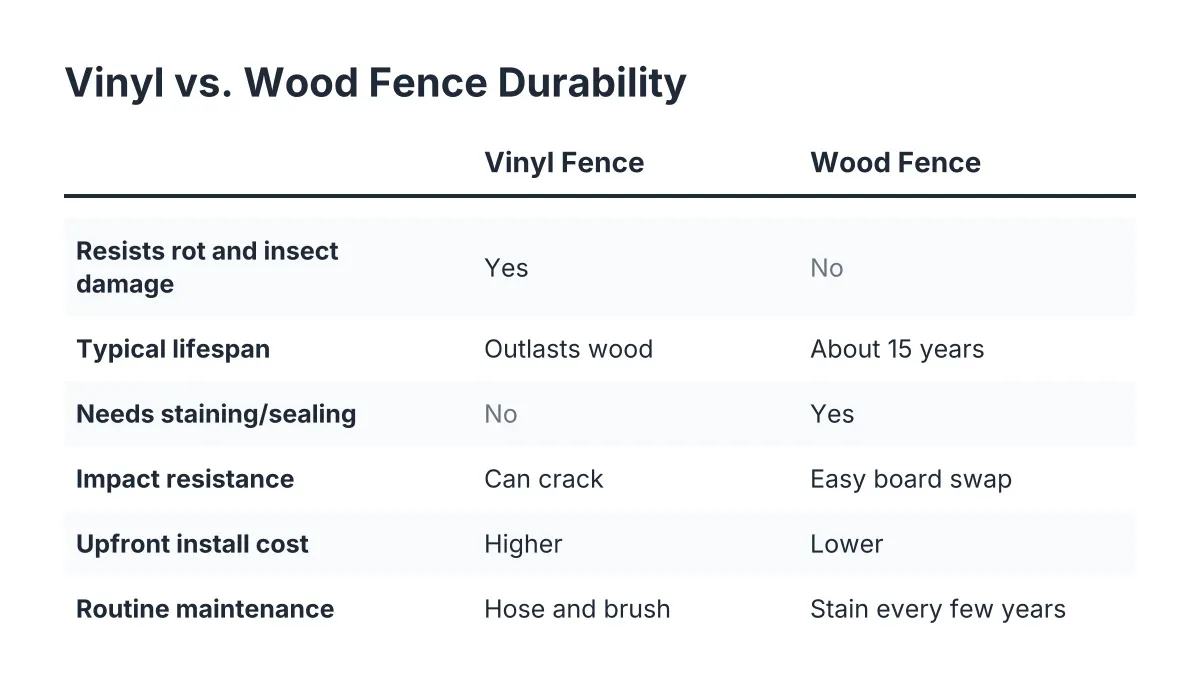
The trade-off is real: deep, properly concreted posts cost more upfront than shallow-set ones, and you won't see the difference the day the crew leaves. You see it after the third winter, when the fence that was set right still runs straight and the one that wasn't has a post riding an inch high. If your yard has steep grade, buried ledge, or posts landing on hardscape, that is the point to bring in a professional rather than push through on your own.
If you need vinyl fence installation, Western Mass Fence Co can help.
Prefer to talk it through? Call (413) 305-1309 — a quick call is usually the fastest way to get a straight answer for your situation.