Vinyl Fence Maintenance Schedule: Cleaning, Inspections, and Seasonal Care
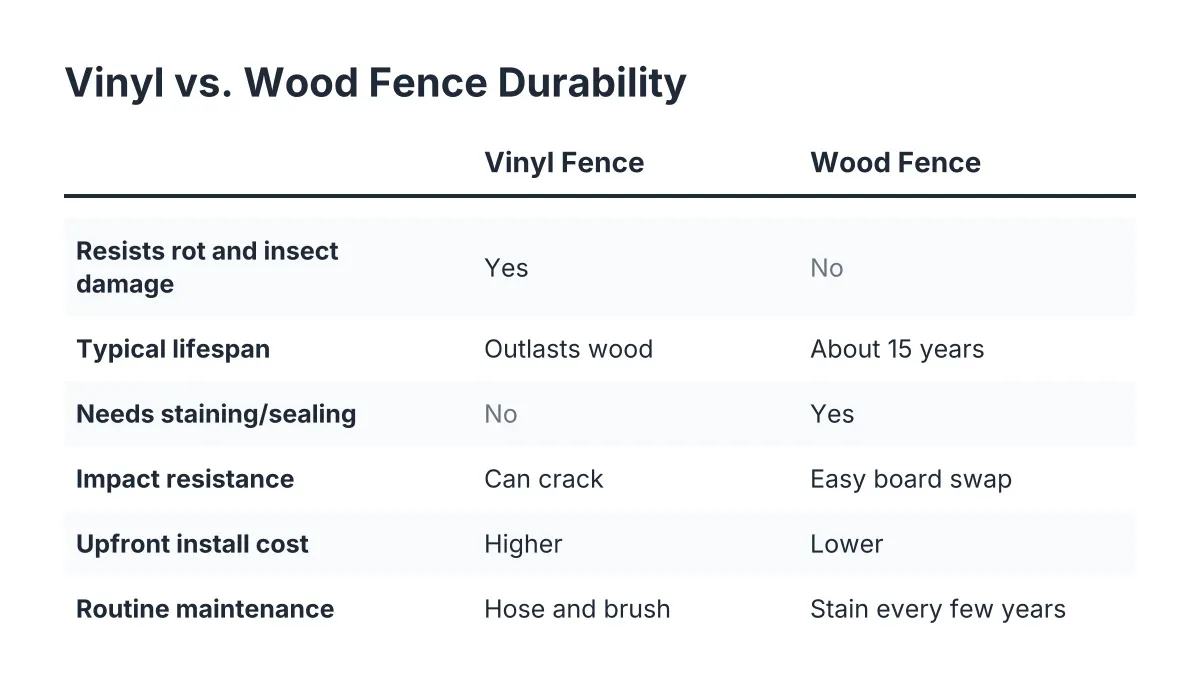
One reason landlords and property managers pick vinyl in the first place is that it asks so little of you. No staining, no painting, no rot. But "low maintenance" is not "no maintenance," and a simple vinyl fence maintenance schedule is what separates a fence that looks sharp at year fifteen from one that gets brittle, grimy, and loose at the posts. This guide lays out that schedule step by step: what to clean, what to inspect, when to do it, and how to handle the seasonal swings that Springfield-area weather throws at a fence.
If you manage multiple rental properties, this matters twice over. A walkthrough checklist like this one can be handed to a maintenance tech or a property manager and repeated across every site, which is the whole point. You vetted the fence once at installation; the schedule below keeps you from having to think about it again except on a calendar.
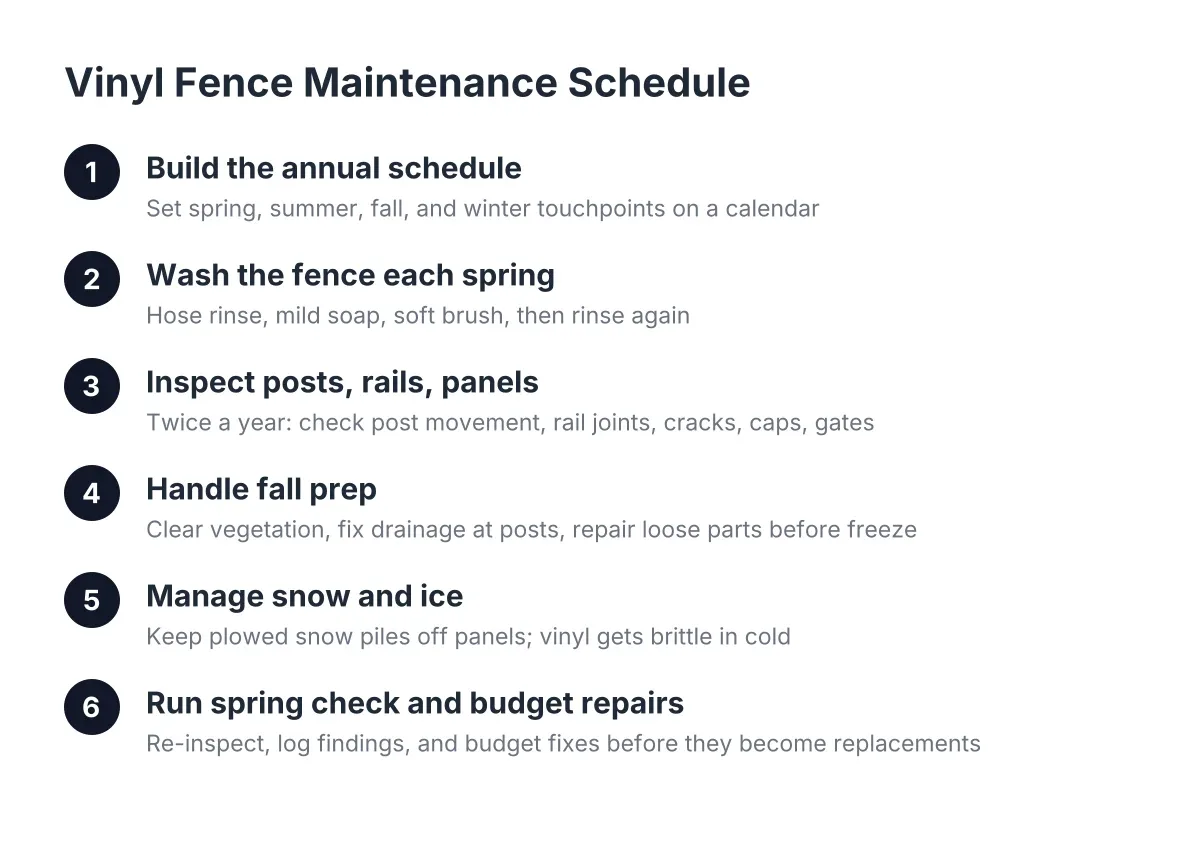
Step 1: Creating Your Annual Vinyl Fence Maintenance Schedule
Start by putting dates on a calendar, because a maintenance schedule you have to remember is a schedule that gets skipped. For vinyl fencing in Western Massachusetts, the rhythm is simple:
- Spring (April or May): full inspection after frost leaves the ground, plus the main annual cleaning
- Summer: spot cleaning as needed, especially mildew on shaded runs
- Fall (October): pre-winter inspection, clear vegetation and debris from the fence line
- Winter: hands off, with one exception for snow load covered below
- After any major storm: a five-minute walk of the line
That is the whole vinyl fence maintenance schedule in outline. Two real inspections a year, one serious cleaning, and quick checks after weather events. For a landlord with four or five properties, the spring and fall passes can fold into the exterior walkthroughs you are likely doing anyway for gutters, grading, and tenant turnover prep.
Step 2: Wash the Fence Each Spring
Clean the fence once a year, in spring, with the gentlest method that works. Vinyl does not need much:
- Rinse the full run with a garden hose to knock off loose dirt and pollen.
- Mix warm water with a few drops of dish soap in a bucket.
- Scrub with a soft brush or sponge, working top to bottom one panel at a time.
- Rinse again so soap residue does not leave streaks.
For green or black mildew staining, which shows up on north-facing runs and anywhere trees shade the fence, add a mild solution of white vinegar and water, or a diluted oxygen-based cleaner. Avoid abrasive pads, steel wool, and harsh solvents; they scratch the surface, and scratches hold dirt and dull the finish permanently.
A pressure washer is fine on a wide fan setting held a few feet back, but keep it off post caps and rail connections. High pressure aimed at a joint can force water inside the hollow sections or pop a cap loose. On a rental property, this is a one-hour job per typical backyard that a tenant or maintenance tech can handle without special equipment.
Step 3: Inspect Posts, Rails, and Panels Twice a Year
Walk the fence line in spring and fall and check the structure, not just the surface. Posts are the foundation of a vinyl fence; the panels only stay straight if the posts do. Here is what to look for on each pass:
- Post movement. Grab each post and push. A post that rocks or has visibly lifted is the single most important thing to catch, and in this region it usually traces back to frost heave.
- Rail connections. Check where rails lock into posts. Rails are cut to fit snugly between posts and secured with screws or locking tabs; a rail that has slipped out of its pocket will sag and stress the pickets.
- Cracks and impact damage. Look along the bottom rails where string trimmers and mowers hit, and at any panel near a driveway or parking area.
- Post caps. Caps are glued on with PVC cement at installation, so a loose or missing cap means water and debris can get into the hollow post. Replace and re-glue missing caps promptly.
- Gates. Open and close every gate. Check hinge screws, latch alignment, and whether the gate post has shifted. Gates fail first because they take all the daily use.
Write down what you find. Suppose you own a six-unit building in Springfield with vinyl privacy fence along the parking area; a dated photo of a leaning post in October gives you a clean record for budgeting a repair in spring, and it tells you whether the lean is getting worse or holding steady.
Step 4: Handle Fall Prep Before the Ground Freezes
Fall is the season that decides how your fence comes through winter. Before the first hard freeze, do three things along the fence line.
First, cut back vegetation. Vines, shrubs, and tall grass against vinyl trap moisture, feed mildew, and hide damage until it is expensive. Clear a buffer on both sides of the fence where you can.
Next, check drainage at the posts. Water pooling around a post base is what fuels frost heave. If soil has settled and left a low spot at a post, regrade it so water sheds away. This ten-minute fix in October prevents the most common spring problem we see in New England installations.
Finally, fix anything loose now. A rail that is barely holding in September will not survive snow load and wind in January. Small repairs before winter are cheaper than panel replacement after it.
Step 5: Manage Snow and Ice Without Damaging the Vinyl
Leave the fence alone in winter, with one exception: do not let plows or snow blowers pile heavy, wet snow against the panels. Vinyl gets less flexible in extreme cold, and a plow-driven snowbank leaning on a privacy panel can crack pickets or push rails out of their pockets.
For rental properties with plowed parking lots, this is a conversation to have with your snow contractor once, in writing. Tell them where the fence lines are and where snow can be stacked instead. Never chip ice off vinyl with a shovel or scraper; let it melt. And skip rock salt directly at the post bases, since heavy salting degrades the surrounding soil and concrete footings over time.
Step 6: Run the Spring Check on Your Maintenance Schedule
After the ground thaws, close the loop on your vinyl fence maintenance schedule with the spring inspection. This is when frost damage shows itself. Walk the line and compare against your fall notes.
Sight down the top rail of each run. A post that heaved over winter will stand proud of its neighbors or tip the rail line out of level. Minor movement sometimes settles back as the ground softens; a post that stays lifted or loose has a footing problem underneath, and that is a dig-and-reset job, not a surface fix.
This is also the honest limit of do-it-yourself maintenance. Cleaning, cap replacement, and gate hardware are owner-level tasks. Heaved posts, cracked structural rails, and panels knocked out of line by vehicles call for a fence company, because the fix usually involves excavation and resetting footings below frost depth. Catching the problem on schedule is your job; correcting the foundation is theirs.
Step 7: Budget for Repairs Before They Become Replacements
Use what your inspections turn up to plan spending, not just repairs. For context, the national average cost of fence repair is $618, with most homeowners paying between $304 and $948, according to Angi. A cracked picket or loose rail caught early sits at the low end; a run of heaved posts ignored for three winters pushes toward replacement money.
For a multi-property owner, the same discipline that applies to roofs and water heaters applies here. Track each property's fence age, material, and repair history in one place. When a fence starts needing attention every single season, that pattern, not any one repair, is your signal to get a fence estimate for replacement and compare the numbers.
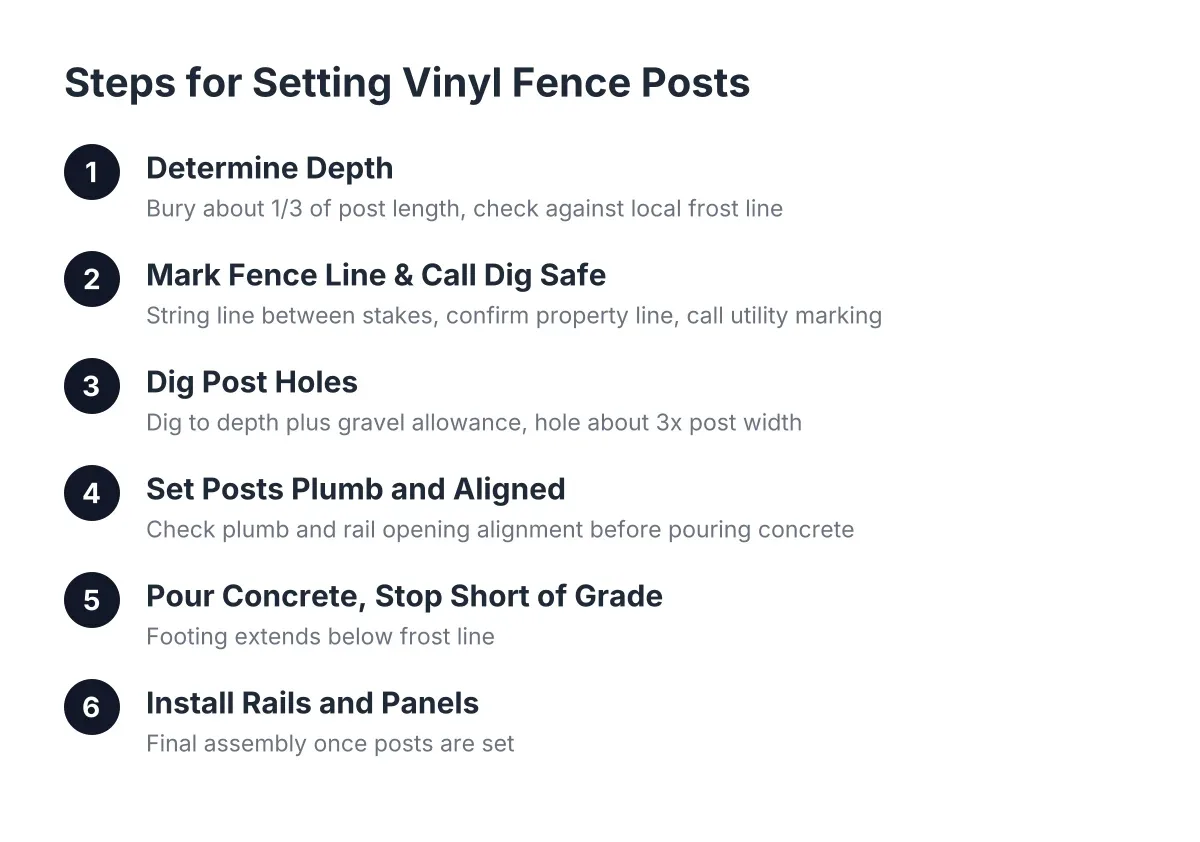
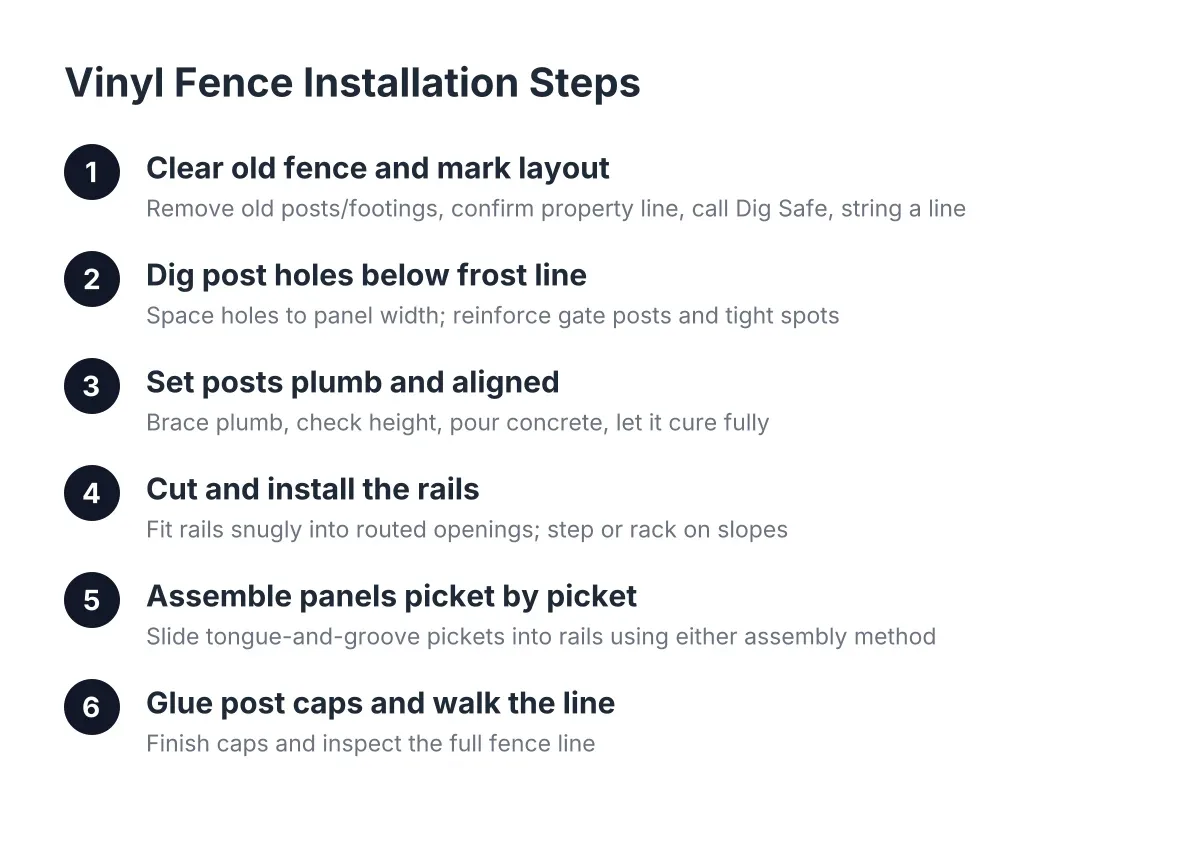
One more note worth making: this schedule assumes the fence was installed correctly to begin with. Proper vinyl fence installation, with posts set below frost depth and footings that drain, is what makes the maintenance side this light. A fence with shallow posts will heave no matter how faithfully you inspect it, and no cleaning routine fixes a foundation problem.
A Quick Reference You Can Hand Off
Here is the full schedule condensed to a checklist your maintenance tech can work from:
- Spring: wash the fence, inspect posts for frost heave, check rails, caps, and gates, photograph any damage
- Summer: spot-clean mildew on shaded runs, trim vegetation off the fence line
- Fall: clear plants and debris, fix drainage at post bases, tighten or repair anything loose, note problem spots
- Winter: keep plowed snow off the panels, no ice chipping, no salt at post bases
- After storms: walk the line, check for impact damage and leaning posts
Two inspections, one cleaning, and a handful of seasonal habits. That is the entire commitment vinyl asks of a Springfield-area property owner, and it is why the material earns its reputation across rental portfolios where nobody has time to stain a wood fence every few years.
If you need vinyl fence installation, Western Mass Fence Co can help.
Prefer to talk it through? Call (413) 305-1309 — a quick call is usually the fastest way to get a straight answer for your situation.