Vinyl Fence Installation Steps: Site Prep, Post Setting, and Panel Assembly
If a storm just flattened a section of your fence and you have decided to replace it with vinyl, it helps to know what good vinyl fence installation actually looks like before a crew shows up. Whether you plan to tackle a short run yourself or you want to check that the fence company you hired is doing it right, the process breaks down into clear stages: site prep, post setting, and panel assembly. This guide walks through each step the way a local installer would, with the details that matter for Springfield-area yards, where frost, grade changes, and older property lines complicate things.
One note before the steps. If a tree took out your old fence and you are deciding between repair and full replacement, that call comes first. A crushed chain link section can often be repaired. A wood fence with rotted posts, or vinyl panels snapped at the rail, usually points toward replacement. Additionally, a straight-shooting fence estimate should tell you which one you are actually looking at.
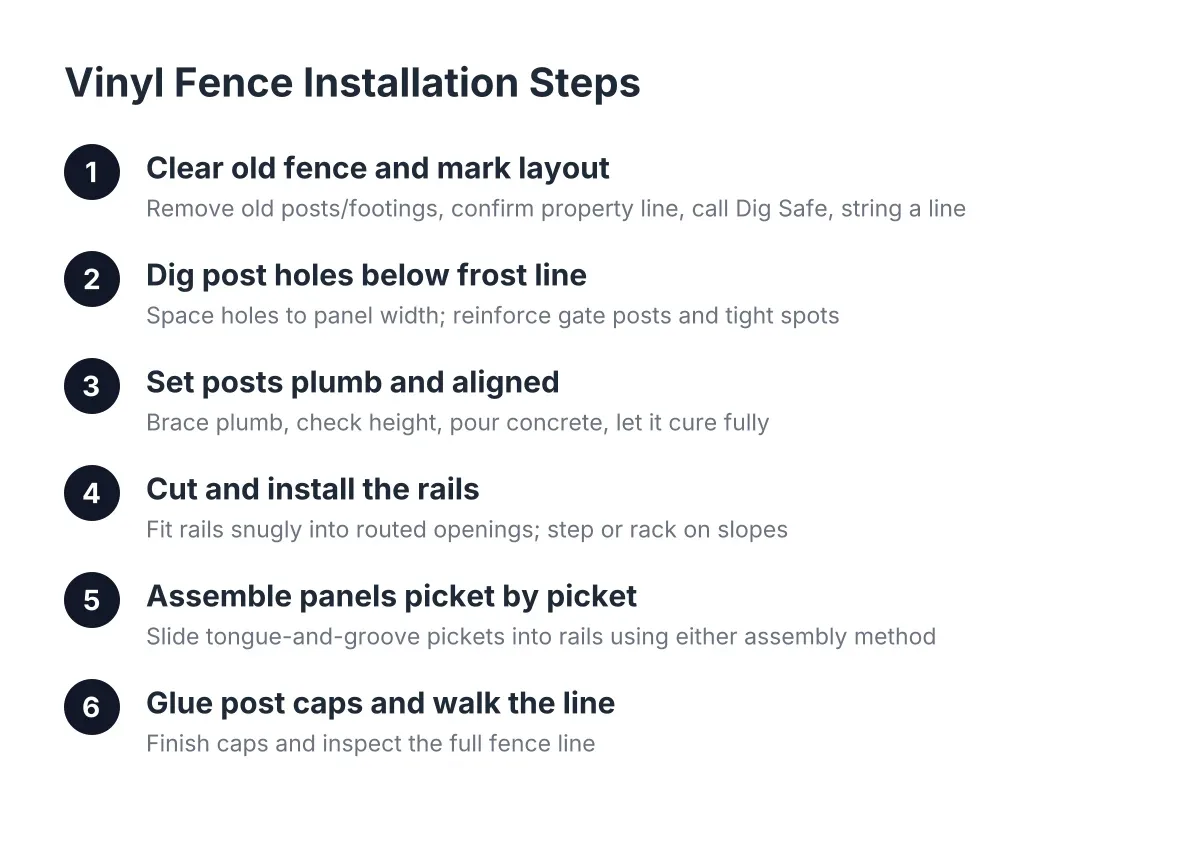
Step 1: Clear the Old Fence and Mark Your Layout
Start by removing the damaged fence completely, posts included. Leaving old post stubs or concrete footings in the ground forces the new fence off its ideal line, and reusing old footings for vinyl posts is asking for a leaning fence within a few seasons.
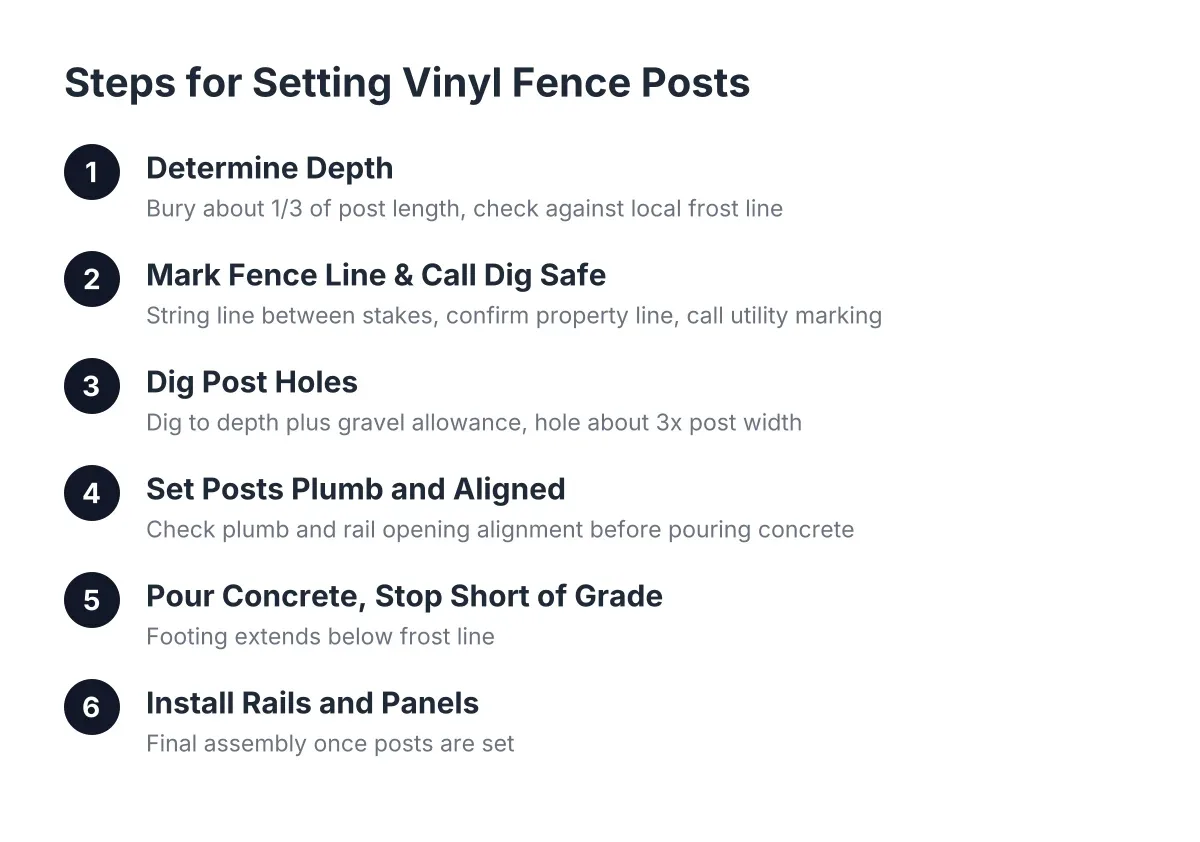
Next, confirm where the fence can legally go. In older Springfield-area neighborhoods, the fence that blew down may not have been sitting on the actual property line. Check your plot plan or survey before you dig, and call Dig Safe to have underground utilities marked. That call is free and required before any digging in Massachusetts.
While you wait for the markings, walk the fence line and note grade changes. A yard that drops two feet over a 50-foot run changes how you set posts and whether panels get stepped or racked. For height, keep in mind that under the Massachusetts State Building Code, fences over 7 feet require a building permit, while fences 7 feet or less do not, according to the Town of Duxbury, MA. Most residential vinyl privacy fences fall under that line, but confirm local Springfield rules too.
Finally, stretch a string line between stakes at your corner and end points. Every post hole gets measured off that string, not eyeballed.
Step 2: Dig Post Holes Below the Frost Line
Posts are the foundation of a vinyl fence. The panels only perform as well as the posts holding them, so this step decides whether the fence stays straight for decades or starts heaving after the first hard winter.
In western Massachusetts, frost drives the depth. Holes that stop short of the frost line let seasonal ground movement push the footing upward, and a frost-heaved vinyl post pulls panels apart at the rails. Dig deep enough that the bottom of the concrete footing sits below frost depth for this region, and keep the hole diameter wide enough for a proper concrete collar around the post.
Space the holes to match your panel width exactly. Vinyl is less forgiving than wood here; a wood fence lets you trim boards to cover a layout error, while vinyl panels are built to a fixed dimension. Measure post centers off your string line and check each spacing twice before you dig the next hole.
A few situations call for extra reinforcement:
- Gate posts, which carry constant swinging load
- Posts butting against an existing fence or structure where bracing is awkward
- Spots near a tree where roots limit footing size
In those cases, installers often set a metal pipe in the footing and sleeve the vinyl post over it. The pipe carries the load; the vinyl stays cosmetic. This is one of the details that separates a fence that survives the next windstorm from one that ends up flat in the yard again.
Step 3: Setting Posts Plumb, Aligned, and at the Right Height for Vinyl Fence Installation
Set each post in its hole and brace it plumb in both directions before any concrete goes in. Vinyl posts have routed openings where the rails lock in, and those openings must line up exactly from post to post along the fence line. A post rotated even slightly means a rail that will not seat, and you cannot fix that after the concrete cures.
Check height as you go. A common finishing detail: from the front side of the fence, the good side facing the street or neighbor, the posts should hide behind the panels. From your yard side, the post can stand a few inches above the top rail, which reads as a clean, deliberate look rather than a mistake.
Pour concrete around each braced post, slope the top of the footing away from the post so water sheds, and let it cure fully before hanging panels. Rushing this stage is the most common cause of callbacks on any fence installation, vinyl or otherwise. However tempting it is to keep moving, panels hung on green concrete will shift.
Step 4: Cut and Install the Rails
With posts cured, measure between each pair of posts and cut the bottom and top rails to length so they fit snugly into the routed openings. Rails that are cut short rattle in the pockets and let panels sag over time. Rails lock into the posts and get secured with screws made for vinyl, which hold without cracking the material.
On sloped ground, this is where you decide between stepping the panels, where each section drops like stairs, or racking them, where the rails angle to follow the grade. Racking keeps the bottom gap consistent, which matters to anyone whose dog found the opening under the old fence after the storm. Not every vinyl panel racks; confirm your product allows it before you order.
Step 5: Assemble the Panels Picket by Picket
Most vinyl privacy panels go together on site, with tongue-and-groove pickets sliding into the bottom rail between the posts. Two assembly methods both work:
- Insert all the pickets first, then snap the top rail over them.
- Set the top rail first, then pop each picket into place beneath it.
Either order gets you a sound panel; rail-first can make the last few pickets easier to seat. One practical tip: start each panel with the groove side of the picket facing in. When you reach the far post, you can see exactly where the groove stops, which makes marking and cutting the final picket to width far more accurate.
On sloped sections, you do not have to build every panel in the same direction. Reversing the build direction on a downhill run keeps gravity from sliding pickets away from you as you insert them. For posts with grooved pickets, side strips snap onto the post faces after the rails are set to lock the end pickets in place.
For example, suppose a Springfield homeowner lost three panels of an older wood fence when a maple limb came down in a February ice storm. A typical crew replacing that run with vinyl would spend most of the first visit on steps 1 through 3, then return after the concrete cures to hang rails and assemble panels in a few hours. The post work is the slow part; the panels move fast.
Step 6: Glue the Post Caps and Walk the Line
Finish each post with a cap. Apply PVC glue to the inside of the cap before seating it; that creates a sealed, permanent bond so caps do not blow off in the next storm or walk away over the fence line.
Then walk the full run and check your work:
- Sight down the fence line for any post out of plumb or rail out of level
- Push on each panel to confirm rails are seated and screwed
- Check gate swing, latch alignment, and ground clearance
- Confirm the bottom gap is tight enough for pets along the whole run
When to Hire Out Vinyl Fence Installation
Vinyl fence installation is worth hiring out when the job involves frost-depth footings, significant slope, gate posts, or a long run where panel spacing errors compound. A short, flat replacement section is a realistic weekend project for a handy homeowner. A full perimeter on uneven New England ground usually is not.
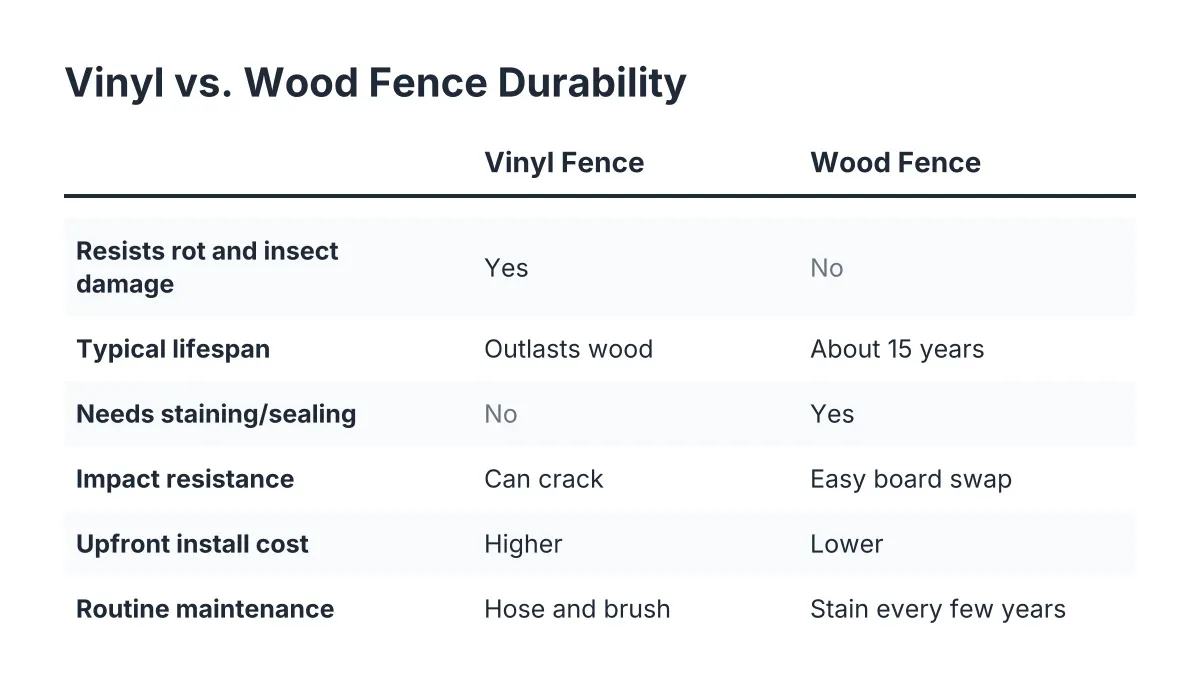
The honest trade-off: DIY saves labor cost but puts the post work, the part that fails, on you. Nationally, fence installation averages $3,277, with most homeowners paying between $1,860 and $4,843, according to Angi. Vinyl tends to sit at the higher end of material cost per foot, but it skips the staining and board replacement a wood fence demands. If your soil is rocky, your grade changes sharply, or your layout has to thread between an old stone wall and a property line pin, bring in a local fence company for at least an assessment before you commit either way.
Done right, with posts below frost depth, rails cut snug, and panels assembled clean, a vinyl fence should be the last one that storm-prone corner of your yard needs for a long time.
If you need vinyl fence installation, Western Mass Fence Co can help.
Prefer to talk it through? Call (413) 305-1309 — a quick call is usually the fastest way to get a straight answer for your situation.