Wrought Iron Fence Installation on Slopes: A Step-by-Step Guide for Massachusetts Yards
Flat yards are rare around Springfield. Most lots here have at least some grade change, and older New England properties often slope hard toward a street, a neighbor, or a back lot line. That matters for wrought iron fence installation on slopes more than almost any other fence type, because iron and ornamental metal panels are rigid. Wood pickets can follow a hill one board at a time. A pre-welded iron panel cannot. Get the slope plan wrong and you end up with ugly gaps under the fence, panels that won't seat in the posts, or a fence that has to come out and go back in.
This guide walks through the installation process step by step, with the slope and property line decisions called out where they actually happen. It is written for a homeowner evaluating options, whether you plan to tackle a short run yourself or want to understand what a fence company should be doing on your property before you sign an estimate.
One note on terms before we start. True wrought iron is heavy, custom-forged metal. Most of what sells today as wrought iron is ornamental steel or ornamental aluminum fence built in the same style. The slope techniques below apply to all of them, though aluminum panels are lighter and often easier to rack, which matters on Massachusetts grades.
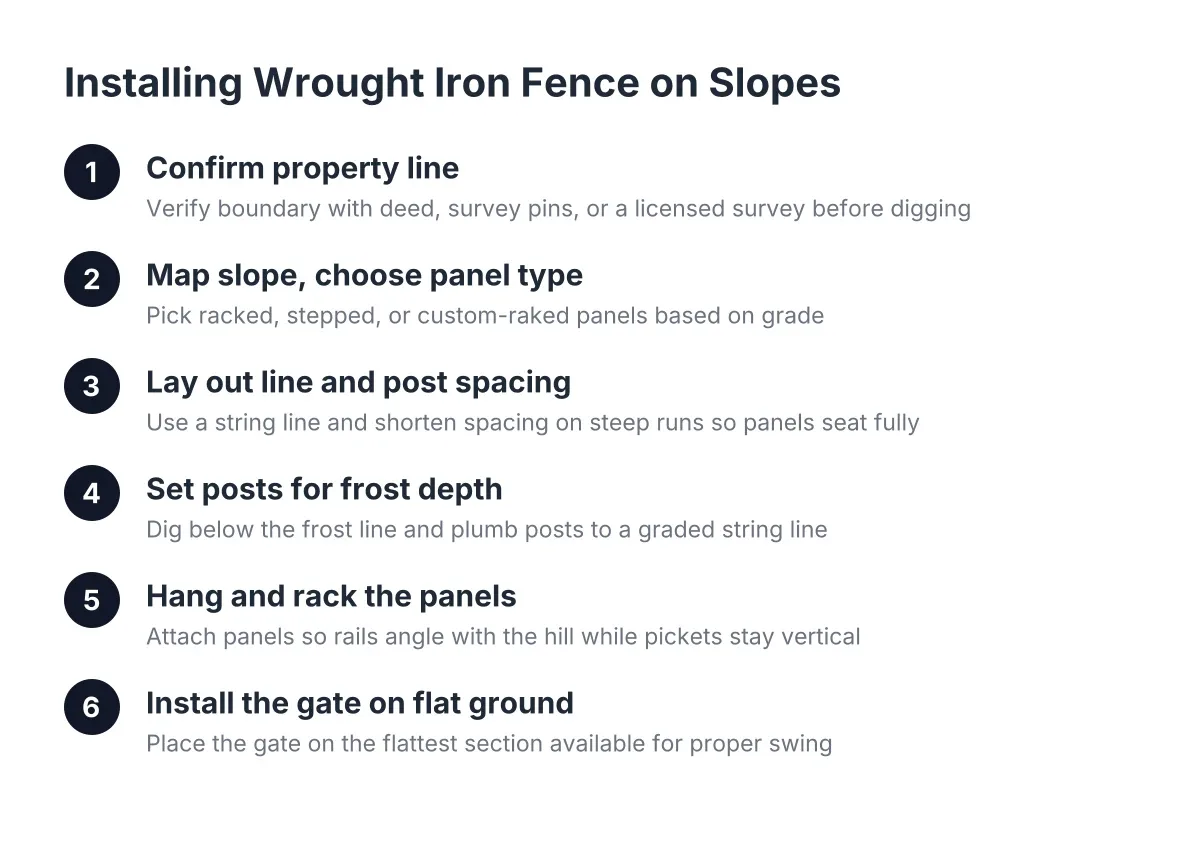
Step 1: Confirm Your Property Line Before Anything Goes in the Ground
Do this first, especially if a neighbor dispute is part of why you want the fence. An iron fence set in concrete is the worst fence type to move later. If you install it a foot onto the neighbor's side, you are not pulling pickets and resetting them like a wood fence; you are breaking out concrete footings and likely damaging panels.
Find your deed plot plan, any existing survey pins, or the mortgage plot from your closing documents. If a new neighbor is questioning where the old fence sat, or a realtor flagged a boundary issue, a professional survey is worth the cost compared to redoing a metal fence. No fence installer can legally establish your boundary; that takes a licensed surveyor. A good local fence company will tell you that plainly instead of just installing wherever you point.
In addition, check your town's rules. Under the Massachusetts State Building Code (780 CMR), a fence over 7 feet tall requires a building permit, while fences 7 feet or less do not, according to the Town of Duxbury, MA. Springfield-area towns also have their own zoning setbacks and height limits for front yards versus side and rear yards, so confirm with your local building department before you order panels.
Step 2: Map the Slope and Choose Racked Panels or Stepped Panels
This is the decision that defines the whole project on an uneven lot. You have two ways to run rigid panels down a grade:
- Racking: The panel pivots at each picket connection so the rails angle with the hill while the pickets stay vertical. The fence follows the ground with no gaps underneath. Most ornamental aluminum and many steel panels rack to a limited degree, often enough for gentle Springfield-area grades but not steep banks.
- Stepping: Each panel stays level and drops down at the posts like stairs. The look is clean and formal, but every step leaves a triangular gap under the low end of the panel. If the point of the fence is containing a dog or keeping a neighbor's dog out, those gaps defeat the purpose.
- Custom-raked panels: Welded panels built to your measured slope angle. The strongest look on a steep grade, and the most expensive, because each panel is made for one spot on your line.
Walk the fence line and note where the grade changes. Measure the drop over each planned panel length using a string line and a line level; divide the drop by the run to compare against the panel manufacturer's maximum rack rating. Suppose a homeowner in Sixteen Acres has a backyard line that drops about two feet over a 40-foot run. That gentle, steady grade usually racks fine. A short, steep bank behind an older Forest Park two-family is a different job, and stepping or custom raking comes into play.
Step 3: Lay Out the Line and Adjust Post Spacing for the Grade
Stretch a string line between stakes at each end of the run, and at every corner or direction change. The string keeps your posts straight; eyeballing a line across a slope reliably drifts. If an existing feature like a cobblestone border or an old fence line marks a reference you have confirmed against your survey, you can work off it, but confirm it first. Old fences in this region frequently sit off the true line.
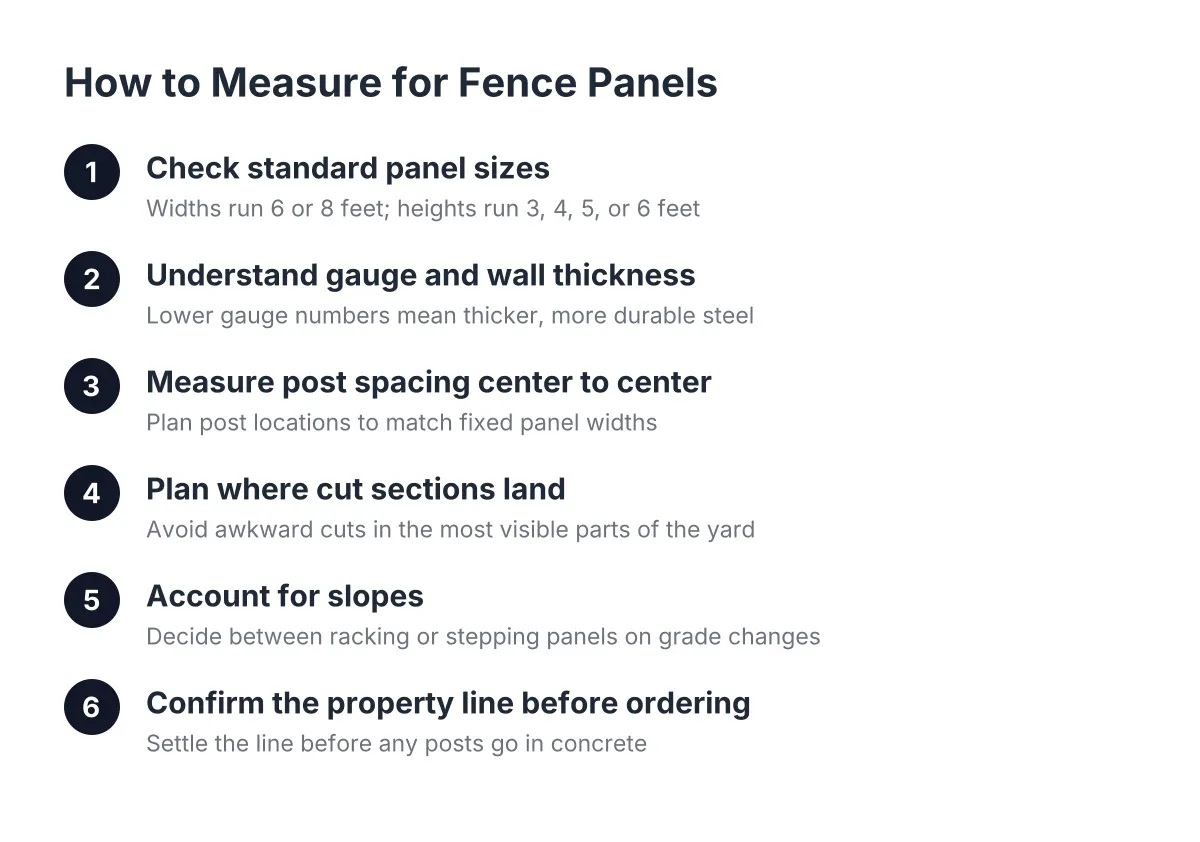
Next, mark post locations along the string. Here is the detail most first-timers miss on slopes: on a steep section, a full-width panel measured along the angled ground will not reach between posts spaced for flat ground. The rails have to seat into the post brackets or routing, and the slope eats some of that reach. Shorten the post spacing on steep runs so panels seat fully instead of hanging by a half inch of rail.
Plan where any cut or shortened panels will land. If the run does not divide evenly into full panels, put the cut section in the least visible spot, such as behind the garage or against the back corner, and keep full panels along the street side and the stretch you see from the patio.
Step 4: Set Posts Deep Enough for New England Frost
Western Massachusetts ground freezes and moves, and frost heave is what tips iron posts out of plumb over the years. Dig below the local frost line, which in this region means deep footings, and check your town's code for the required depth. Bell the bottom of the hole slightly wider than the top so freezing soil grips the concrete less effectively.
Set each post in concrete, plumb it in both directions, and check its height against a string line run across the post tops. On a slope, that string follows the grade at a consistent height rather than sitting dead level; it keeps the fence a uniform height above ground as the hill rises and falls. On uneven spots, you may need to backfill one side of a hole higher than the other so the panel rails run clean despite the grade dipping under them.
Therefore, work in sections: set two posts, hang the panel while the concrete is workable or use brackets that allow adjustment, then move on. Rigid panels forgive almost no post error. An inch off on spacing or plumb shows immediately in metal where a wood fence would hide it.
Step 5: Hang and Rack the Panels
Attach panels to the posts using the manufacturer's brackets, working downhill. On racked sections, angle the panel to match the grade before tightening the brackets; most panels rack by loosening at the picket connections, shifting the rails, and letting the pickets hang plumb. Check each picket with a level as you go. A fence where the pickets lean with the hill instead of standing vertical looks wrong from across the yard, and it is the most common cosmetic mistake on sloped installs.
On stepped sections, keep each panel dead level and let the elevation change happen at the post. Keep your steps consistent in height where the grade allows; random step heights read as sloppy even when every panel is level.
For tight spots, such as butting against an existing neighbor's fence or working around a mature tree on the line, a reinforced post set tight to the obstacle can carry a cut panel cleanly. Where a cut panel meets a corner, finish the cut edge against the post so the raw end does not show.
Step 6: Install the Gate on the Flattest Ground You Can
Gates are the moving part, and slopes punish them. A gate hung across a grade either drags on the uphill side or leaves a large gap on the downhill side as it swings. Where the layout allows, place the gate at the flattest point along the run, even if that means shifting it a few feet from where you first planned it.
If the gate must sit on a grade, hang it to clear the high point of its swing arc, and accept a larger gap at the closed position, or choose a gate that swings toward the downhill side. Wrought iron gate installation also demands heavier posts than the line posts carry, because the gate's weight hangs on hinges day after day. Deeper footings and larger posts at the gate opening are standard practice, not an upsell.
How Fence Installation on Slopes Affects Cost and Project Scope
Slope adds labor and sometimes material, and it is one of the main cost factors separating two estimates for the same length of fence. For context, Angi reports that overall fence installation costs average $3,277 nationally, with most homeowners paying between $1,860 and $4,843; ornamental metal typically runs above the middle of the market on a cost per foot basis, and slope work pushes it further. The same source puts the average return on investment for a fence at around 50% of the project cost.
On a graded lot, expect these factors to move your fence estimate:
- More posts per run, because steep sections need shorter panel spacing
- Custom-raked panels if the grade exceeds standard racking limits
- Extra excavation and concrete where footings land on ledge, fill, or old foundations, common around older Springfield housing stock
- Gate relocation or heavier gate hardware to deal with the swing arc
- Survey costs if the line is disputed, which is money well spent before concrete goes in
As of 2026, the honest answer on price is that no calculator replaces a walk of your actual line. Two 100-foot fences in the same neighborhood can land far apart in cost once grade, soil, and access enter the picture.
When to Bring in a Professional Instead
A handy homeowner can install a short run of ornamental panels on a gentle, undisputed line. However, three situations justify hiring it out: a steep or irregular grade that needs custom raking, a contested property line where placement mistakes carry legal and financial weight, and heavy steel panels, which are a two-person job at minimum. A wrought iron fence set wrong in concrete is expensive to correct, and a boundary question is a surveyor's job before it is a fence company's job.
If you get estimates, ask each installer directly how they will handle the grade: racked, stepped, or custom panels, and why. Ask where the cut panels will land and where the gate will sit relative to the slope. A local company that works Springfield-area lots should answer those questions specifically, for your yard, without hesitation. The ones who shrug at the slope question are the ones whose fences end up with gaps under them by spring.
If you need fence installation, Western Mass Fence Co can help.
Prefer to talk it through? Call (413) 305-1309 — a quick call is usually the fastest way to get a straight answer for your situation.